4 ways to achieve tilt-shift (miniature) effect
It seems to me that tilt-shift effect is gaining on popularity, and not because more lens are selling :).
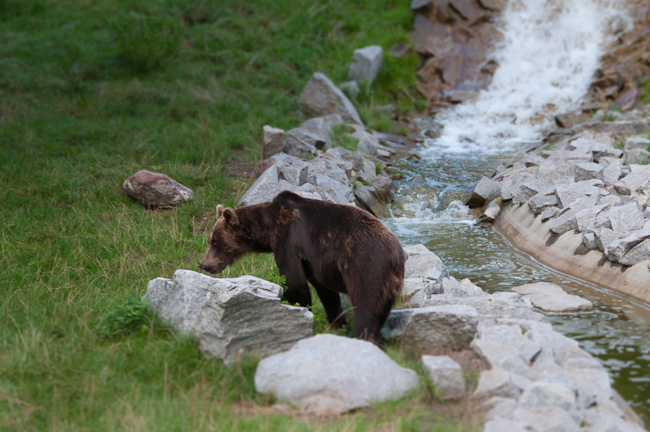
There is number of software solutions you can use to achieve the effect in post-processing. Although faking the miniature word look in post it seems a bit like getting Lensbaby effect in post, not exactly cheating, but far less fun and a bit less control.
Method 1.
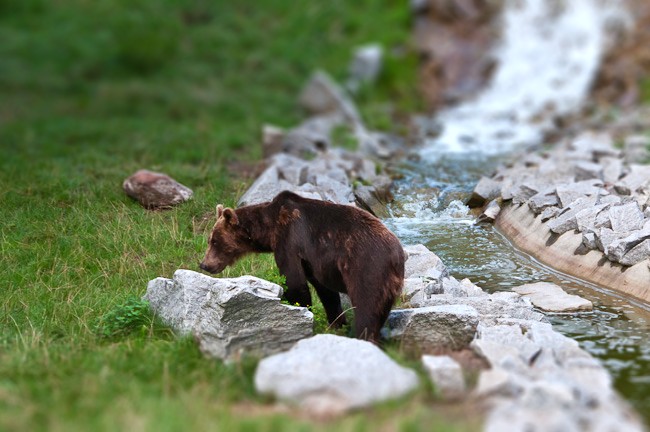
The simplest. The cheapest. You can upload your image to the Tilt-shift Maker web page. The algorithm gives you control over the strength, range and position of the effect, so you can tweak the image. I sometimes spend a lot of time on it, especially that I have troubles seeing the final effect on rather small preview. I will save the final image multiple times on the hard drive and open it larger before I am happy with it. Also, if you check “enhance colors”, it will not only add Vibrance but also shifts color balance- compare this image with image below, which has unchanged colors.
Method 2.
Pretty simple. Fits into workflow of Lightroom users just fine. Add two graduated filters, with the middle line touching the subject or the place you want in focus. If you want them to be parallel to the horizon, keep Shift pressed when you place them. Then, push Clarity and Sharpness sliders as much to the left as you like. Fine tweaking means pushing those sliders in turns, they both contribute to the effect. The effect is also more gradual.
Method 3.
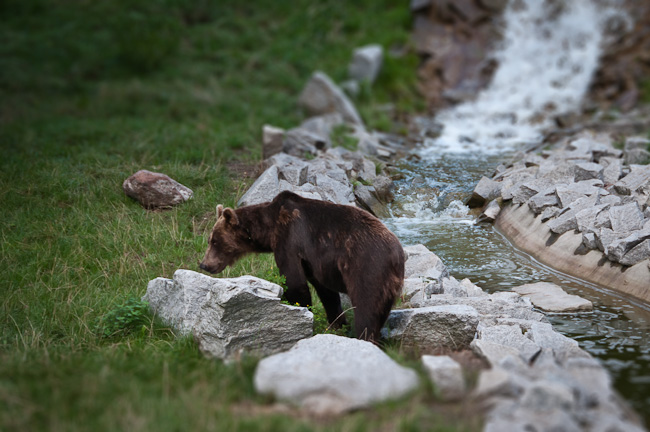
Photoshop. And everything relating to that. Layers. Masking. Everything sounding as complicated as it is ;). And, of course, everything can be done in more then one way. For once, you can use either Lens or Gaussian blur. One tutorial was posted some time ago on Faded & Blurred blog, and another on Nicolesy blog. I like the touch of vignette from Faded & Blurred tutorial, but doing it in Lightroom seems far simpler.
Method 4.
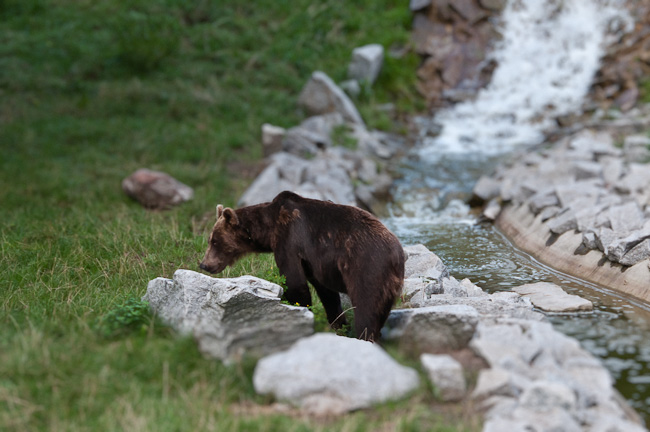
Even more expensive. Less complicated, but probably equally time consuming. The Bokeh 2 plug-in. It can plugs into both Photoshop or Lightroom, with Photoshop giving more control, as you can use masking or selections. Here, I selected the bear before applying Bokeh 2 filter. The tutorial is part of software overview on PhotowalkPro blog. Tip- to achieve the final effect, I had to actually apply Bokeh filter twice- once for top, once for the bottom.
So, which effect you like most? Which you find the easiest to do? Do you have any images with miniature effect used? Share your thoughts in the comment section or add you images to this blog’s Flickr group.


