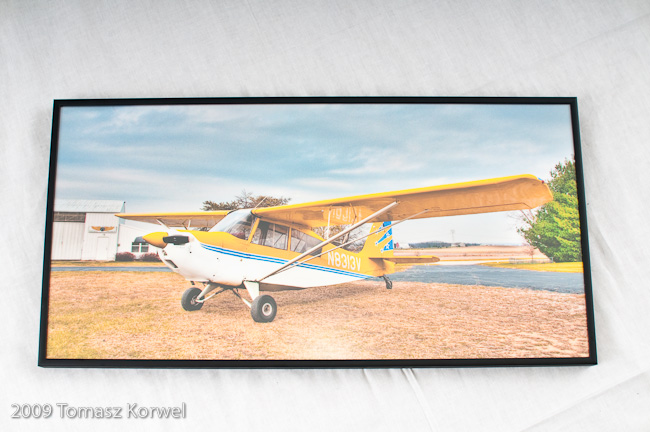
Frame them!
For as long as I remember, I wanted to have nice, huge pictures hanging on walls all around our house. And almost as long, the biggest obstacle in achieving it was, yes you guessed it right, the price. Framing services around here would simply kill my budget with the number of pictures I’d like to hang.
But when we took some very nice photos of the airplanes there was no other option but to look for a solution to properly exhibit those that we printed out. Personally I’m kind of minimalistic kind of guy. I like frame-less mounts the best. Well, maybe second best just after thin aluminum frame. I just love those. It’s probably because at one point I was working for a company that were selling them and I could play with them first hand. Since then, I’d sell myself for nice, cold piece of anodized aluminum.
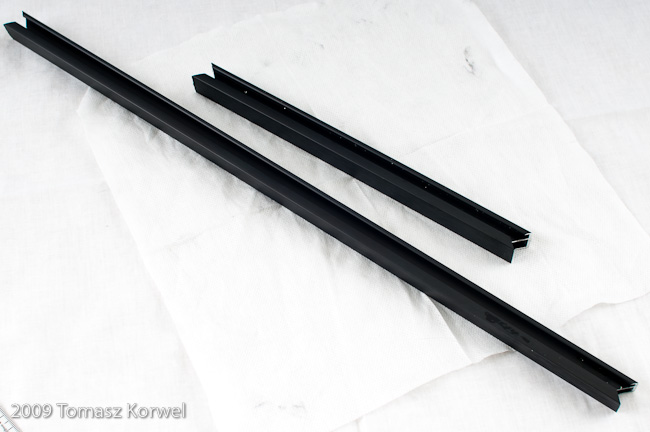
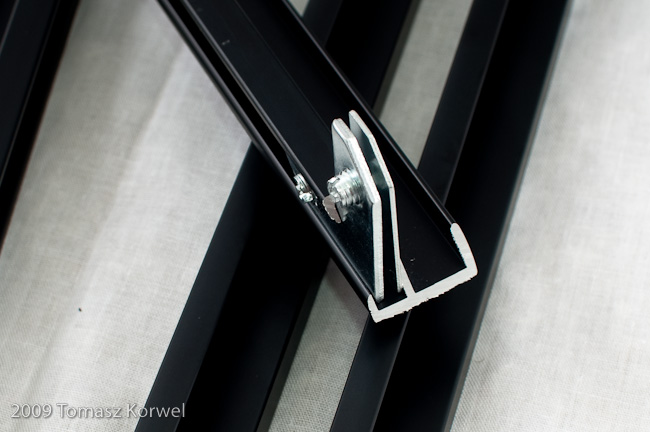
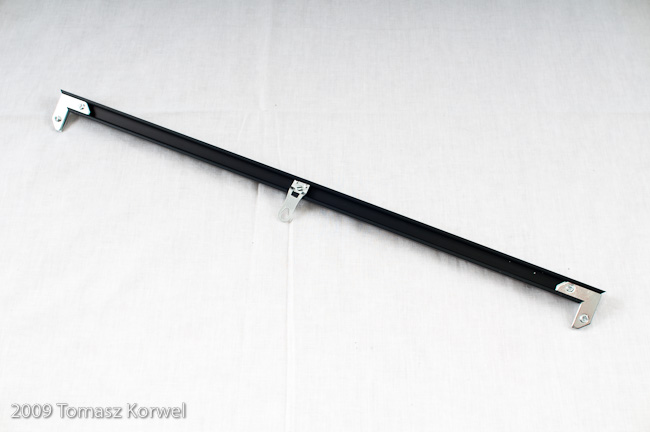
Te got to the point. After spending enormous amount of time on the Internet I found a supplier that offers aluminum frames in chops. By their definition a chop is a pair of frame elements of the same length. To build a frame you need to chops, one as long as the long edge of your picture, and another one as short as the short one. Something like this:
The advantage of such model is that you are not constrain by predefined frame sizes. As you can order any chop size between 5″ and 40″ in 1/8″ increments you can pretty much build any frame you want. Not thinking much longer I placed an order and not too long ago I got everything I needed.
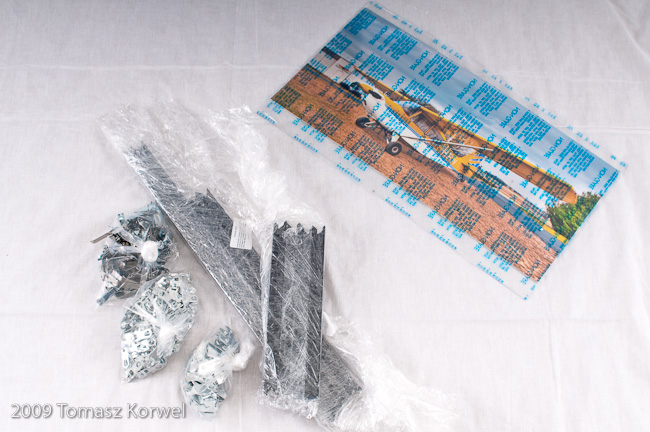
Today I gathered all needed parts (chops, hardware, a clear sheet and of course, a picture):
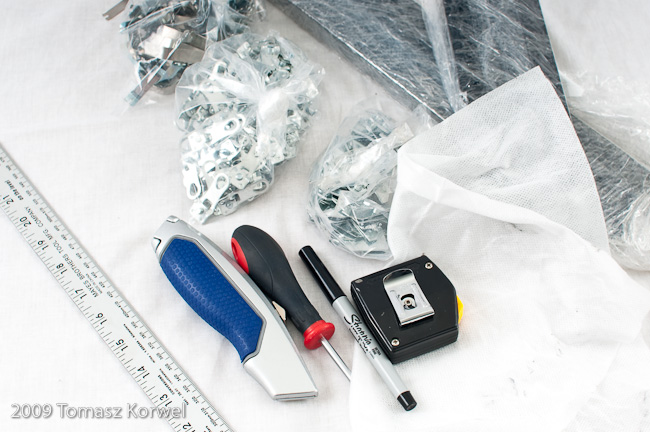
All required tools:
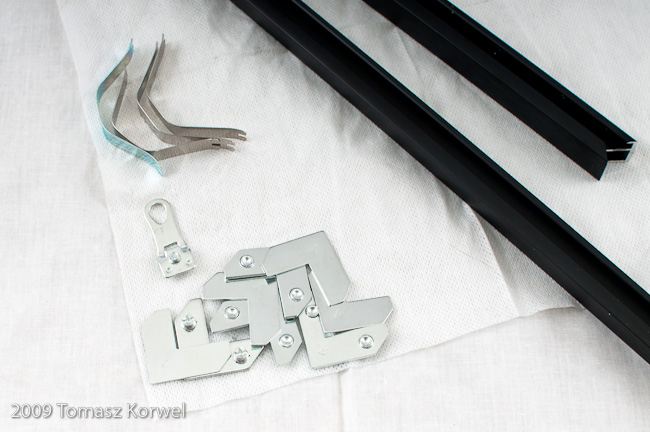
And started building the frame. To build one frame you need two (mentioned before) chops, four sets of pieces to join chops in corners, four spring clips to hold picture and (at least one) hanger.
I started building frame by inserting corner sets in both longer pieces of frame:
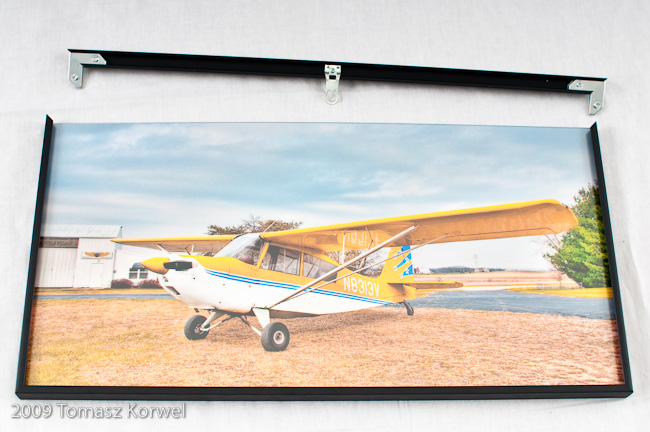
Remembering to insert hanger in one of them:
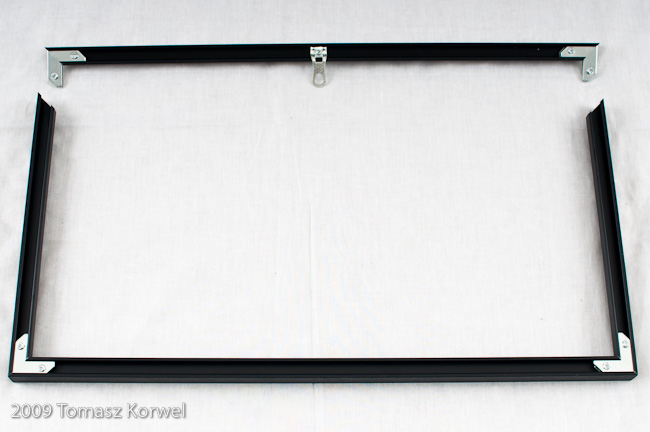
Then I connected two shorter pieces with one of the longer ones (the one without the hanger) to make a U shaped bottom of the frame:
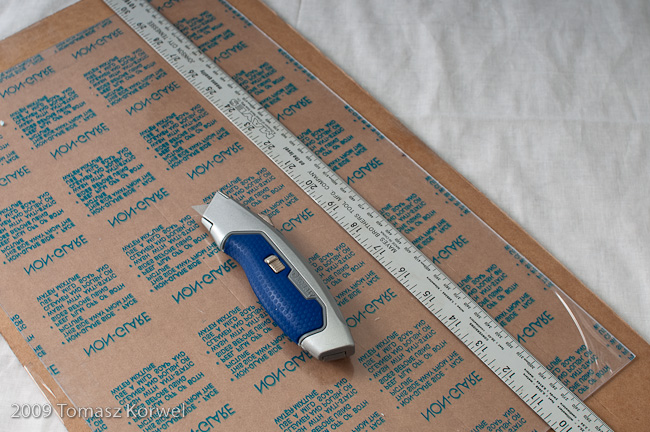
Then it was time to cut acrylic sheet to the size. Using aluminum ruler and regular utility knife I carefully cut the sheet:
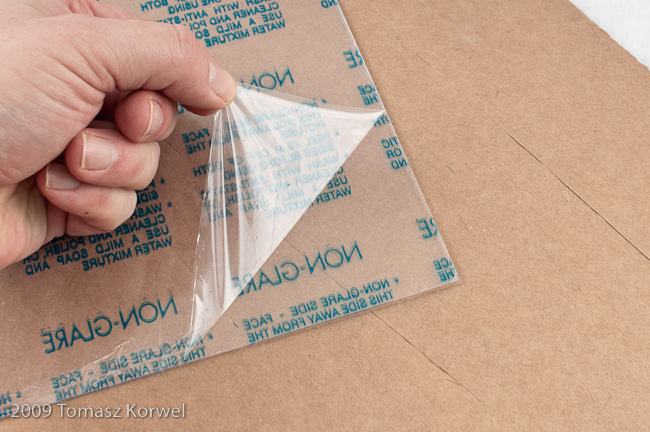
There is no need to cut all the way through – the acrylic nicely snaps like glass along the line if it’s just marked with the knife. Then I peeled the protective foil off of it:
And making sure the correct non-glare side is outside, I inserted it with picture into U shaped piece of frame:
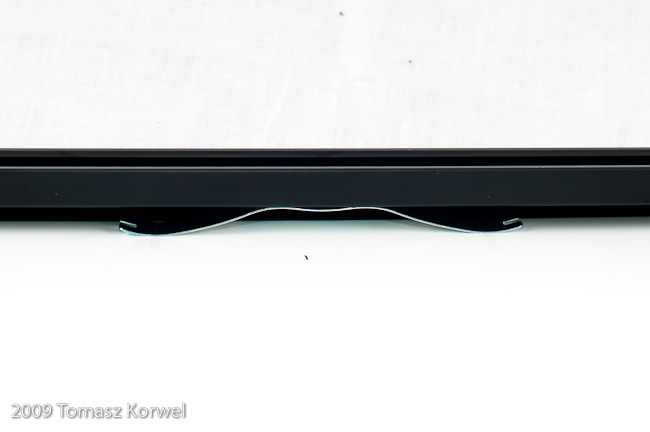
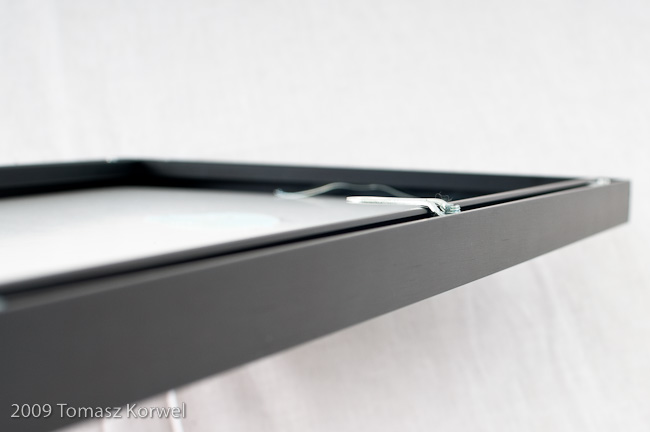
Then closed it from the top making sure everything fits square and tight. At this point I locked the picture in frame using spring clips:
Made sure the hanger is exactly in the middle:
And the frame was done and ready to go on the wall:
The whole thing took me less than 25 minutes including time needed to take those photos. And here is the best part – total price for 10″ x 20″ frame was less than $15. Hard to beat that!
