Photographing pizza
I have recently read a number of (e-)books on light, lighting with flashes and photographing food. I also was not so long ago at the seminar by the two well known small flash professionals. With all that reading and watching, one should expect I know everything there is to know… Or not at all. The old truth- you need to practice, practice, practice. I learned it the hard way yesterday photographing veggie pizza for my garden project I worked on this spring and summer. I stood over my lighting gear, not knowing where to start.
At least, I knew better then to prepare food and then set up to photograph it. The setting up the studio came first. With recent remodeling in the house, I can use the “shelf” currently doubling as dinner table as the workbench. It makes for easy photographing close to where cooking action happens. I took one of Nicole Young’s setups from her book on food photography as a guide to set up my light, and I was determined to use just one flash, behind the scene, as she did. Luckily, the typical light stands are tall, as behind my table is my hallway :). That’s where I positioned the medium soft box first, and later decided to go with umbrella. I am not entirely sure yet, why one worked better then the other. Following my husband’s advice and the way Strobist would do it, I set up the camera’s shutter speed to give no ambient light exposure (black screen as on the first photo in top row below) at desired aperture (f/9) and enough power on the flash behind shot through umbrella to light almost all the scene (second photo in top row below). Manually. I do believe in manual flash set-up, and if there is one thing I know how to do in lighting, is setting up multiple flashes power. It is not possible, of course, to lit the whole scene with just one light source, so I added a reflector, with its silver side, to fill in the shadows on the left, opposite the flash (third photo in top row below). And here is where the problem with one flash started. I added white boards up front to fill also the dark front of my scene (my two toasts working as stand-in food, fourth photo in top row below). The effect was nowhere close to what I wanted.

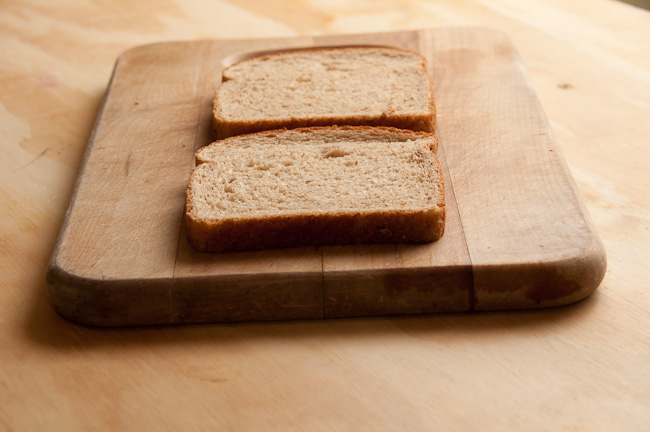
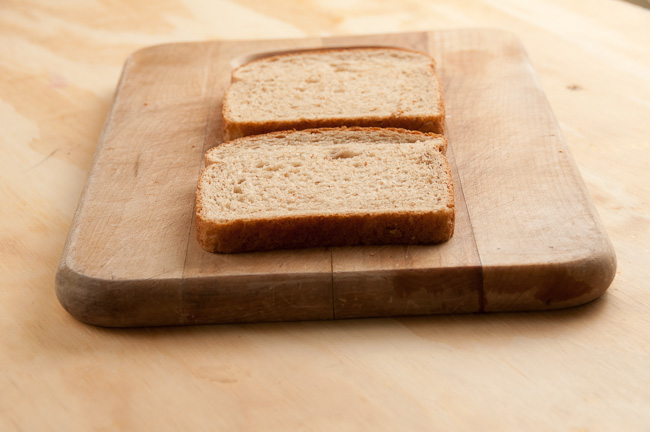
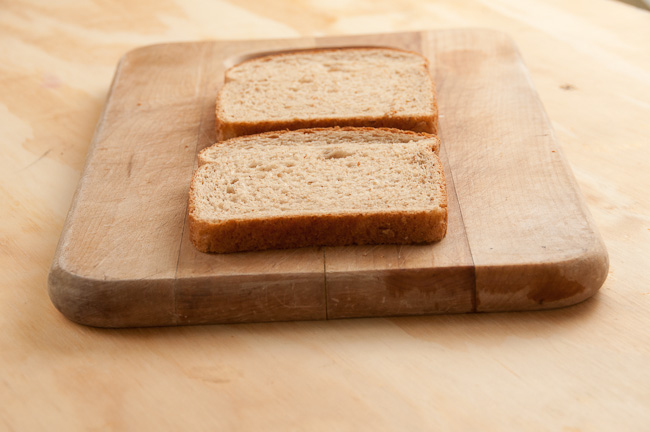
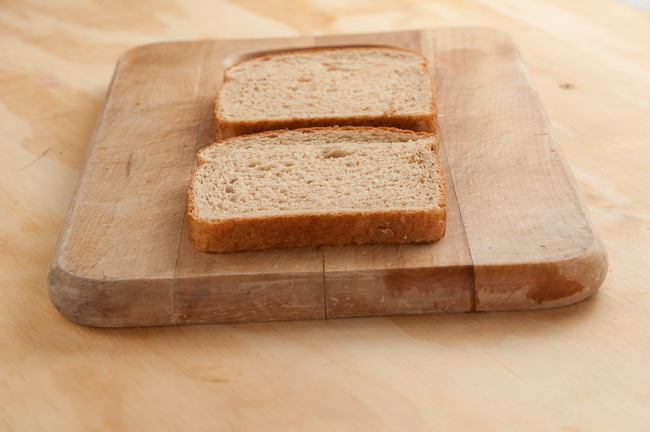
I start to agree with my husband that you cannot lit food well with just one flsh. I am not sure why other’s, like Nicole, can pull it off. Maybe it depends on studio location, set up size or type of food. Look at those images by Nicole, they are also in her “Food photography” book. I find the front of the stir-fry with noodles too dark (left image). It was the set up with soft-box behind the plate slightly to the left, with reflector on the right and fill-in boards on the left (it is figure 3.23 in the book). Similar positioning of light elements, just umbrella and reflector a bit towards the back, and totally different tonality in food on this pasta dish (figure 3.26 in the book) and it is not as noticeable. But look at the difference in my toast photos (fourth photo top row is white boards, fifth photo top row is second flash on minimum power).
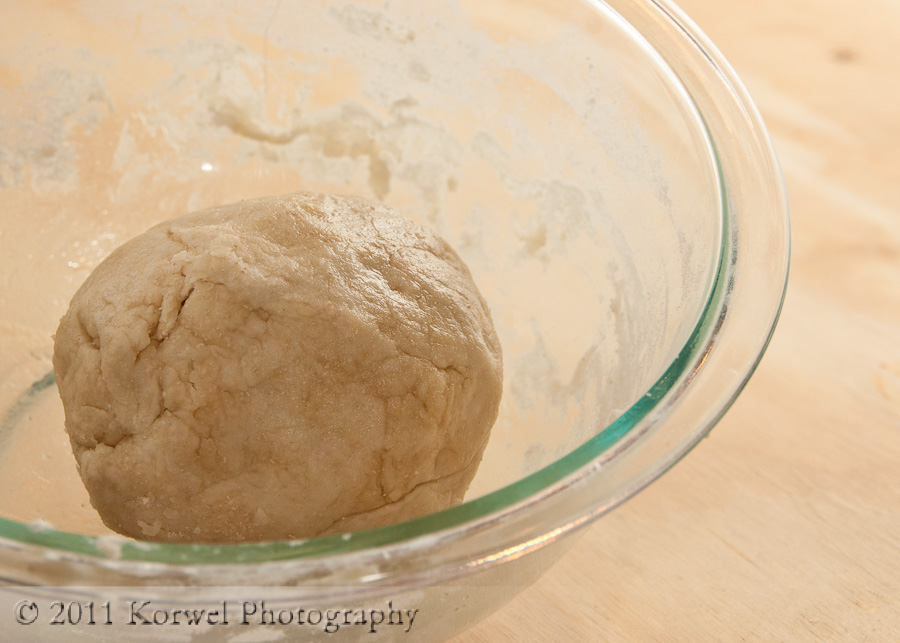
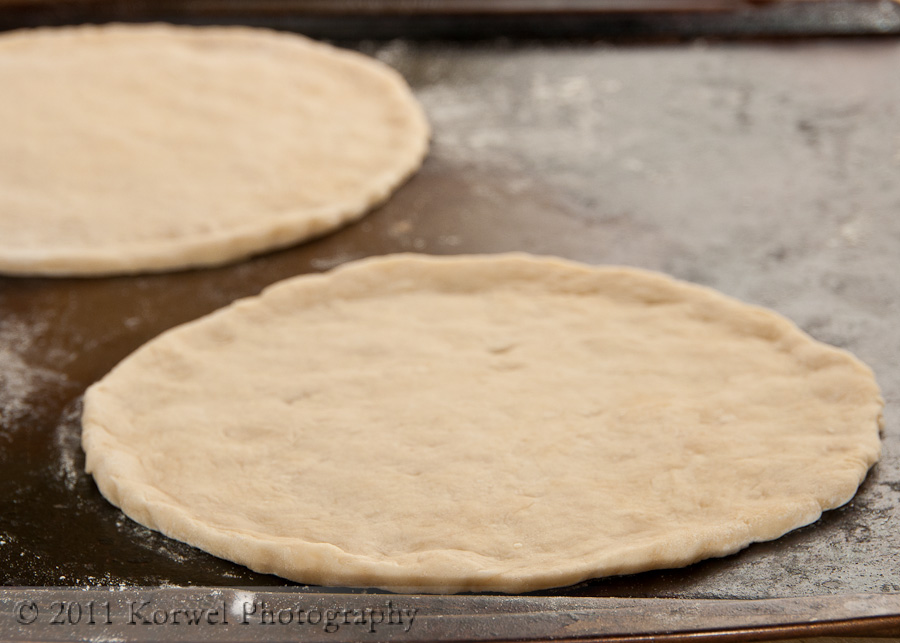
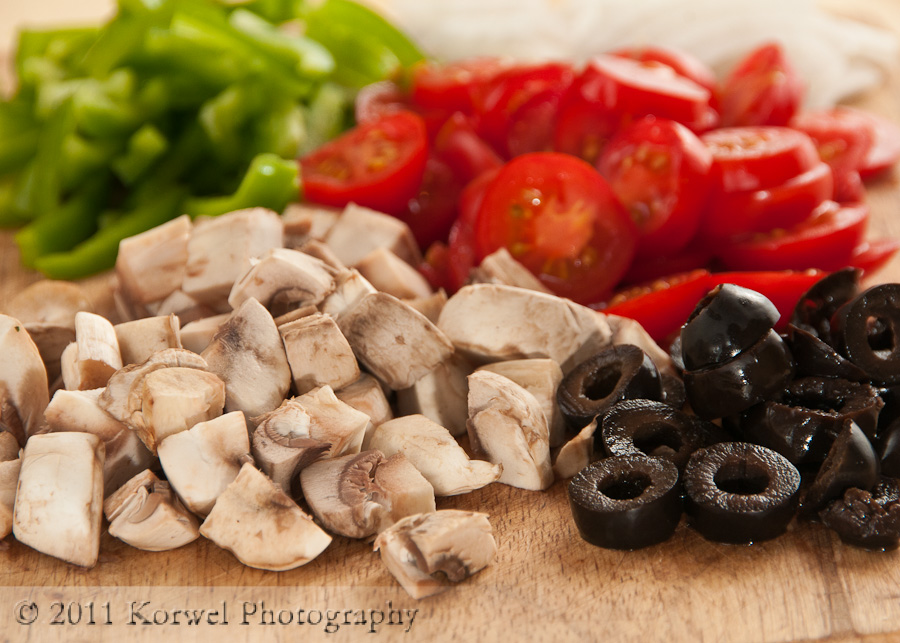
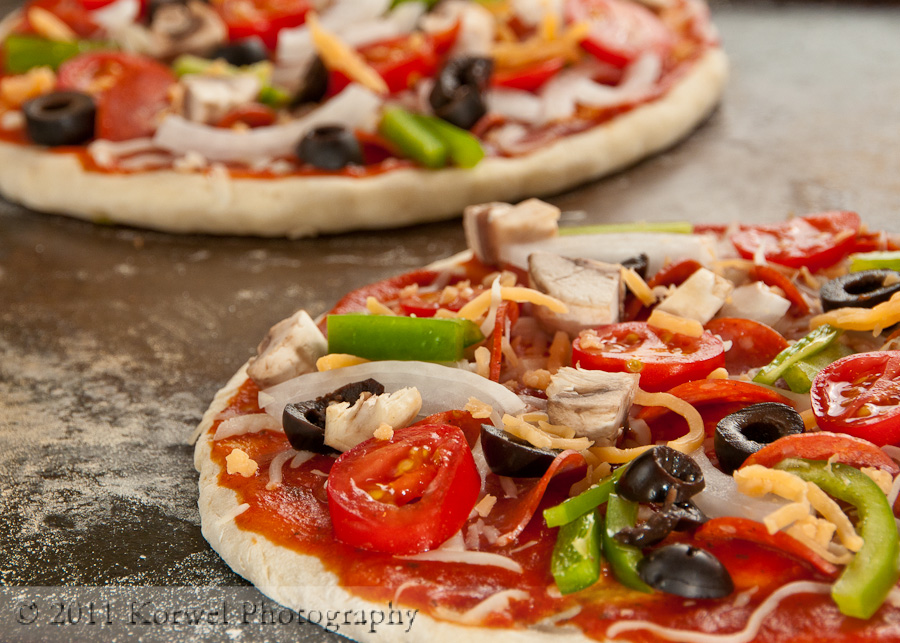
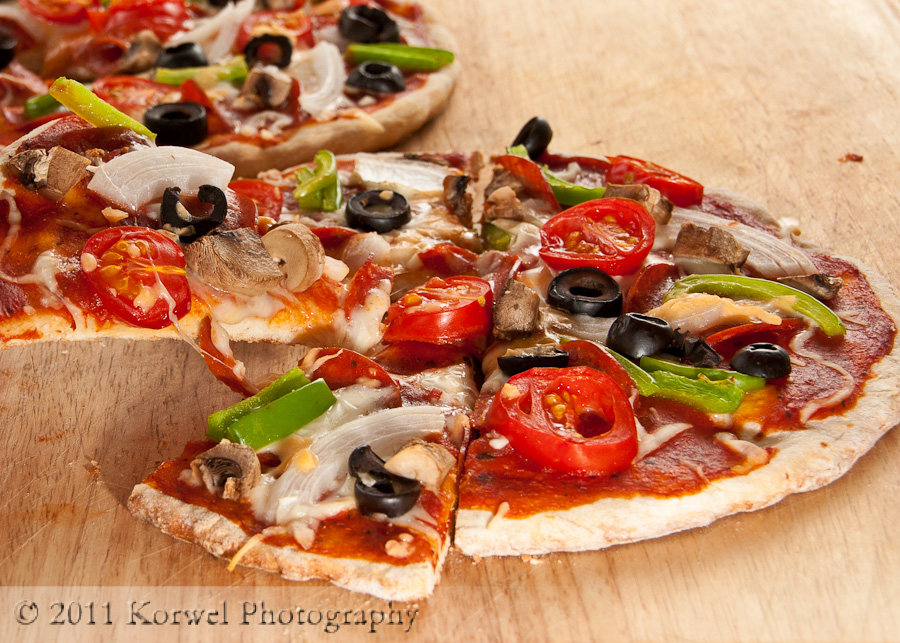
With the studio set-up ready, it was time to work on pizza. And photograph every step, with the same set up, of course (I was just slighly changing the position and power on second flash as needed). We followed the original Lowe’s recipe very loosely. We typically make the crust from the pre-mixed ingredients, sold in any grocery store. Just add water kind. After short time to rise (first image bottom row, above), the dough is formed in the shape (circle, this time, as on third photo bottom row, above) and baked shortly by itself. Afterwards, was the hardest part of the whole project in my opinion. As there are no good books as far as I can tell, which will tell you how to really compose your scene. Where to put the ingredients. I knew I have many colors and textures in my veggies (third photo bottom row, above). I knew if I position them too regularly, it will not look good. Neither would putting them totally at random. I am not sure what exactly I did this time, but I am quite happy with how it turned out on the final image (last two photos at the bottom, above). I am also very happy how the images turned out overall- almost no post was needed to make them look as you see them below. Remember, you can click on the images to look at larger versions.
And the lesson learned- shoot more. Now, with winter coming, the awful Polish weather behind windows, I am surely be spending more time again shooting in the studio. Hopefully, soon I will feel as desperate as I was yesterday, not knowing what to do first.