
What’s inspiring this week
Chef view of food photo shoot Books and chocolate proceed my passion for photography, every time. In fact, I do have another …
Chef view of food photo shoot Books and chocolate proceed my passion for photography, every time. In fact, I do have another …
I love those images, even they are achieved on the computer, not in the camera. Striking colors, abstract feel with just enough …

I have love-hate relationship with Lightroom presets. I used to like them and applied them a lot early, when I was still …
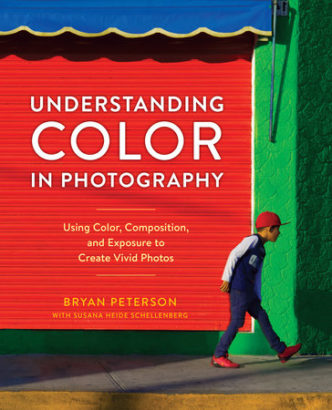
I grew up, photographically, on Bryan Peterson books. “Understanding exposure” and “Understanding shutter speed” were one of the first photography education books …
I follow David DuChemin’s blog and work for many years. It is interesting to see how he is just a photographer, …
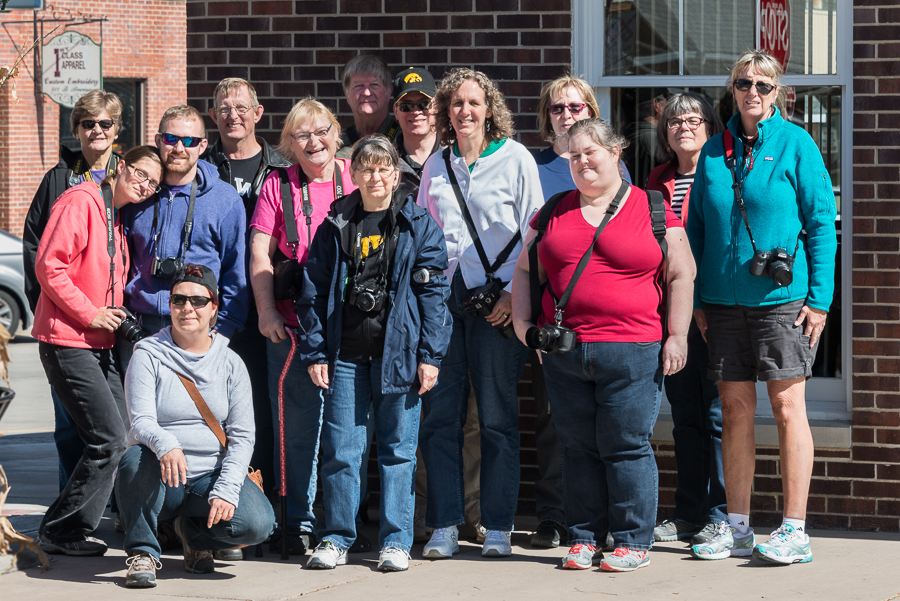
Yesterday, it was the day of the Scott Kelby 8th annual Worldwide Photo Walk. The final count as of yesterday’s evening, 21578 …

Just a few days ago, Scott Kelby announced 2015 Worldwide Photowalk date – October 3rd.If you have never participated in this social …

Sometimes, leaving photography for a moment and getting some inspiration from another medium is exactly what you need. You hear this advice …