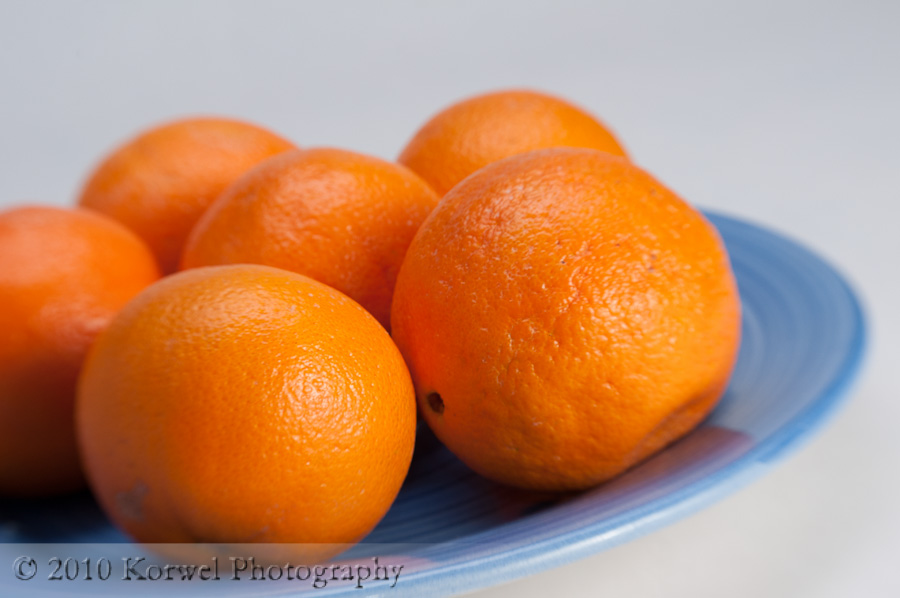
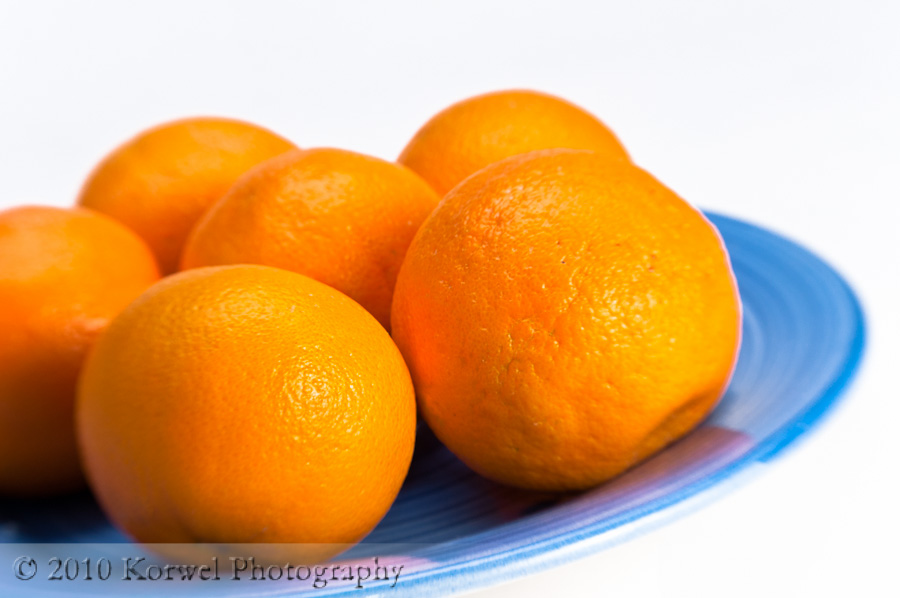
Oranges (Before & After)
Many times was I already complaining on this blog how difficult it is to shoot objects on white, isolating background. And then I found out, that masters of product or food photography have the same problem, they just approach it differently. Only part of white is achieved in the studio, the rest is done in post. So I had to learn how to do it.
I am going to show an example of an image, similar to a series I recently prepared for a microstock. This one is shot with Lensbaby, and a bit closer then the shots I chose to submit. You can see that the background is more grey then white. Some stock agencies, like Bigstock are especially particular about isolating white being really 255 white.
To be able to see it even better, in both Lightroom and Photoshop I will change background colors to pure white. This also helps to see if the white balance is correct in the image, as any yellow or blue cast will be easier to spot and adjust. Then I would do typical adjustments- add Clarity and Vibrance, set Tone Curve to Strong and add some Blacks/Fill Light or whatever is needed to improve exposure. After that, I will look at the image to decide, how elaborate backgrund fix is needed. For most images, I would need to do the well feathered selection in CS5. I typically use Quick Selection tool to select object from the background, make a Layer mask out of it, which in turn I can adjust using black and white brush. With that, I typically just increase brightness of the white until it doesn’t differ from the background in the software.
But there are images, like this, where tools available in Lightroom are sufficient. I would use Adjustment Brush sometimes. There are situations where even only Vignette will do. In this case, with only two colors in the image, I actually increased Brightness, and then lowered the Luminance of orange and blue colors.

