
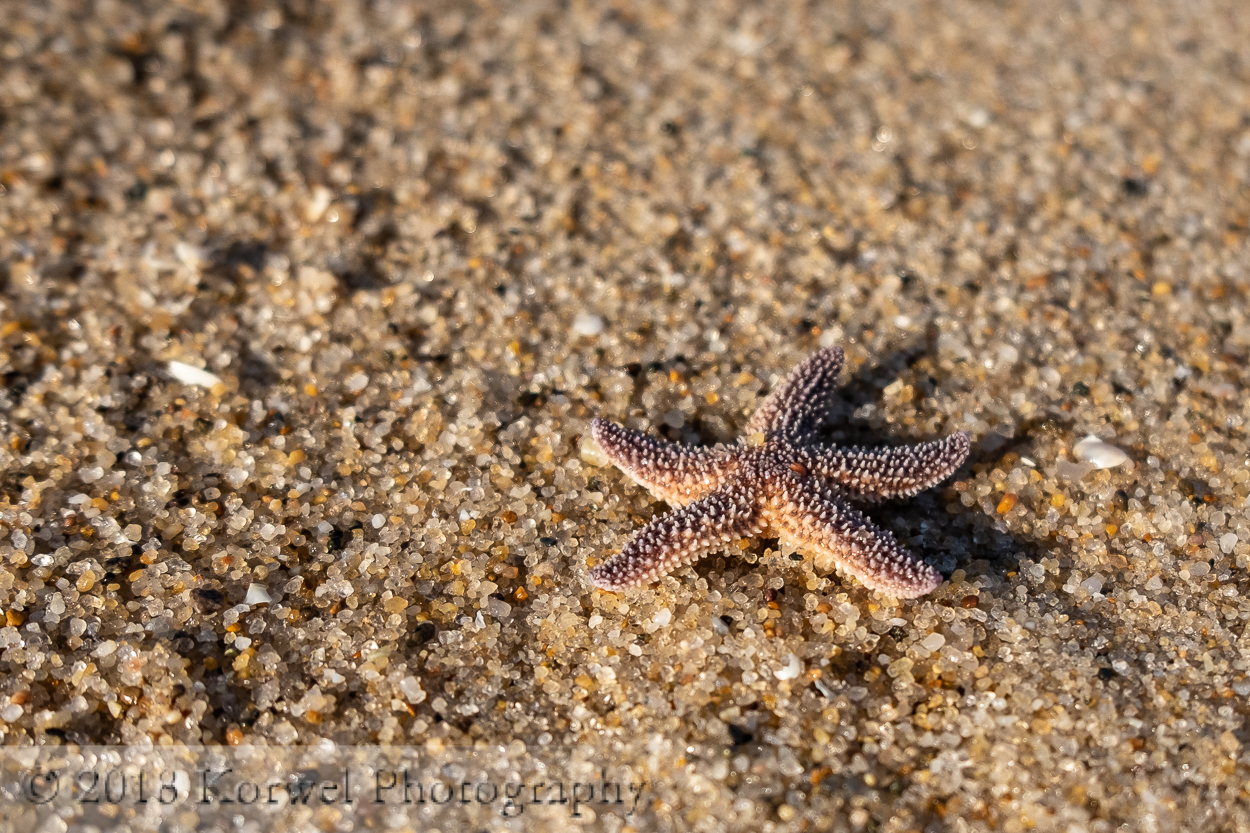
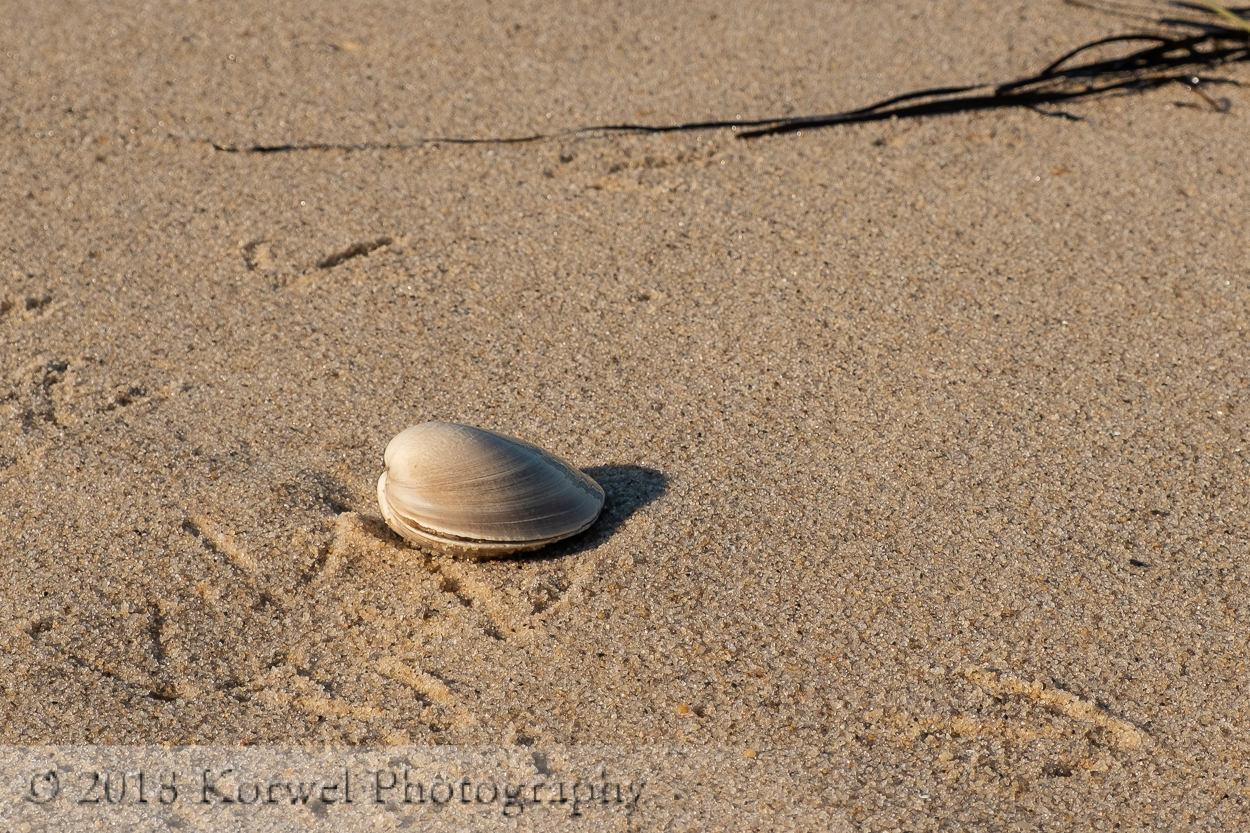
On Cape Cod beach
Last fall, we went on a trip to Boston, MA. As beautiful and interesting as I expected it to be, there were …
Last fall, we went on a trip to Boston, MA. As beautiful and interesting as I expected it to be, there were …

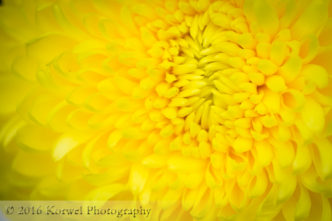
I have love-hate relationship with Lightroom presets. I used to like them and applied them a lot early, when I was still …
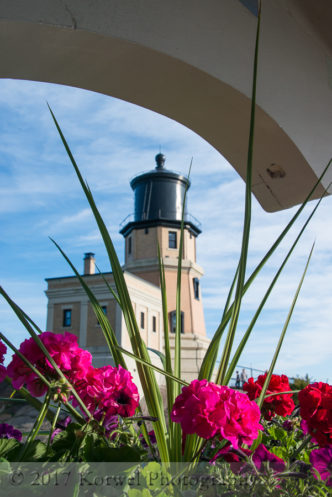
Some more images from the trip up North. When we were driving up there, I had only vague idea what we might …
Couple of years ago, my right arm gave up. I was in so much discomfort, I did not feel like holding my …
I recently had an unusual conversation. Typically, when I say that I do photography, and the other person is also a photographer, …
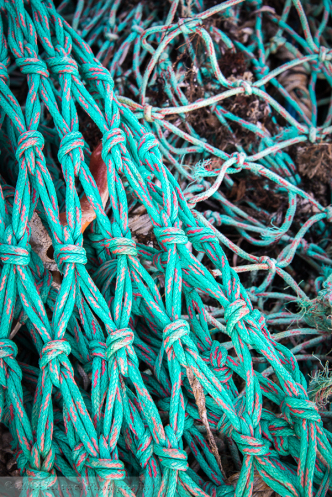
This one morning in Wood Hole, a friend of mine and me came onto a bunch of fishermen supplies on one of …
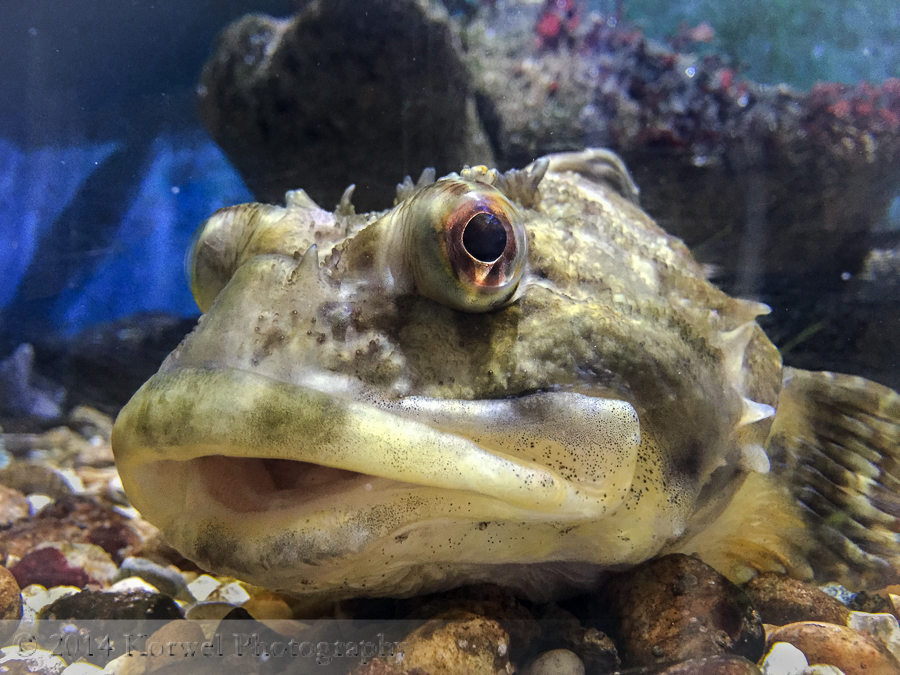
Last week, I was in Woods Hole, MA for a conference. It is a very interesting town, full of tourists and marine …

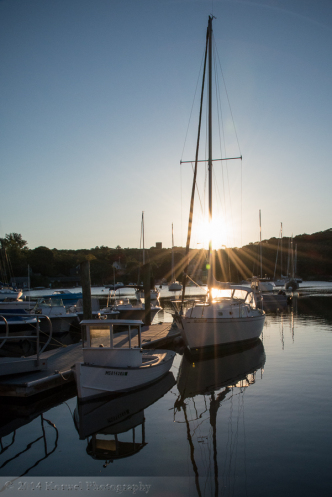
Another air to air. This time I had beautiful light, so close to sunset. We were flying over the lakes, and my …