Essentials of air show photography
1. Finding air show
There are many air shows organized around the United States, so I am sure you can find some wherever you live. Search on the web for those closest to you. For example, I found this web site with calendar of aeronautical events for North America. As far as I can tell, the list is complete. You do not need to go to classics, like AirVenture or “Sun’n’Fun” to really appreciate what it is all about. One near you will still be a lot of fun, believe me.
Wherever you go, just remember one thing. Most of them are organized in the middle of the day, in a sunny, warm weather. Don’t forget a folding chair, hat, sunscreen and a lot of water- making yourself comfortable will increase your chances of taking great photographs.
2. Lenses
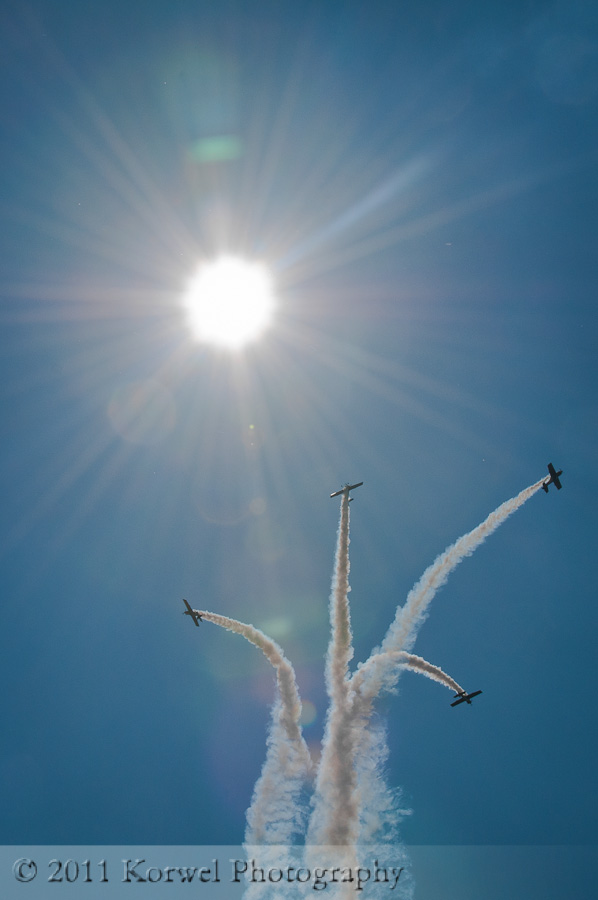
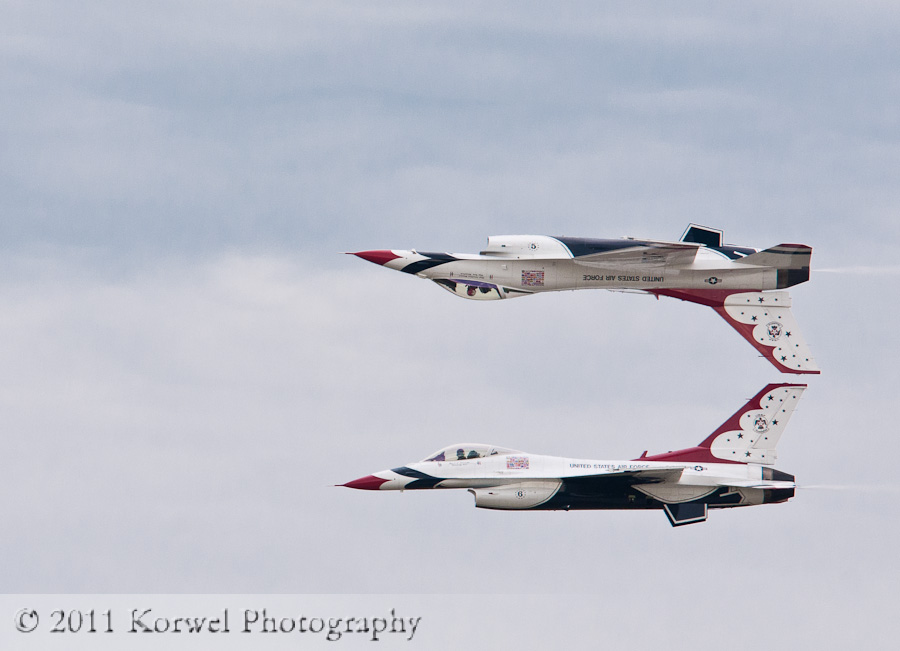
Forget about “nifty fifty”. It will be pretty much useless, unless you photograph crowds or portraits of pilots. At the same time, you really do not need to go overboard. I have a lot of success with shooting various air shows with the zoom lens, like 18-200 mm Nikkor or 18-250 mm Sigma. Both of those lenses offer you unique chance to catch some wider shots, like the formation split or smoke trail behind the parachuter, and not missing the face of the pilot in a passing airplane, all with just single lens and one body. For several occasions I have also used 50-500 mm Sigma which with it’s wide range of focal lengths provides chance to photograph best of both worlds. Unfortunately it’s a heavy lens and somewhat clunky lens so keep that in mind when choosing.
One of the biggest problem with the quality lenses is their cost. Luckily you do not have to spend big bucks to get a piece of glass you will use once or twice a year. There are many places where you can borrow it for few days and shoot like a pro. I used BorrowLenses, LensProToGo and LensRentals so far, and am very happy with their services.
3. Composition
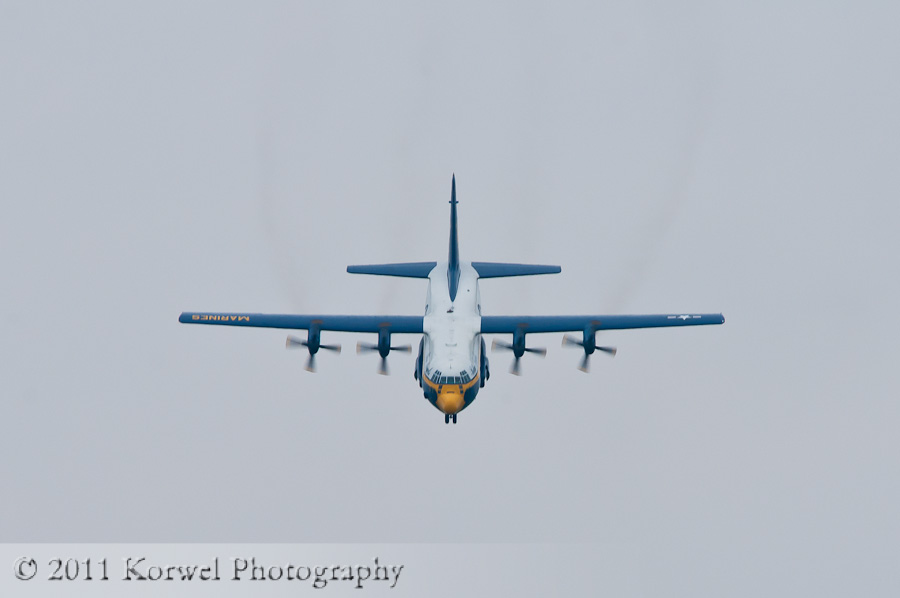
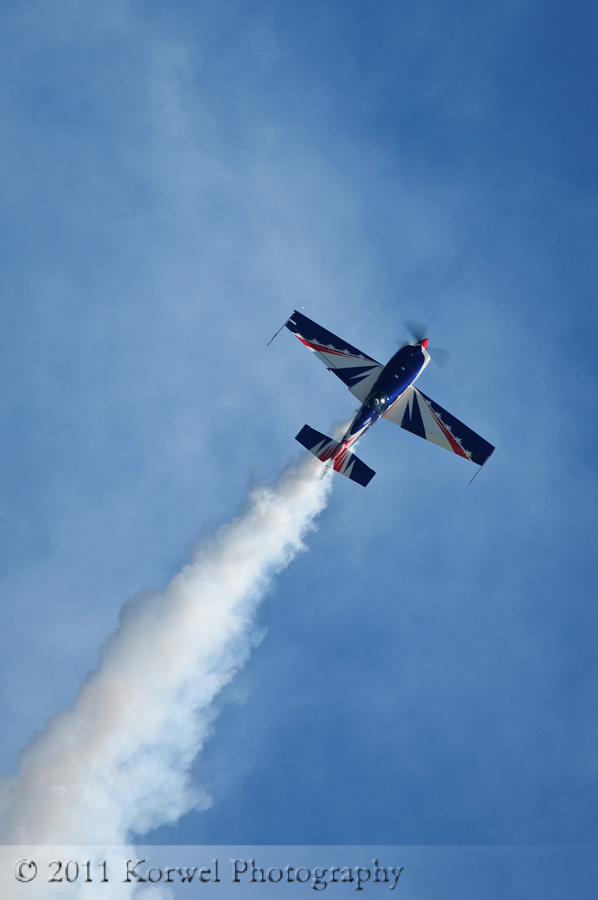
The experts in the field suggest airplanes look most interesting up front and from top. The pilot would often position the airplane like that during air show, so watch out for those moments. Fill the frame with the airplane (leaving some space and make sure you are not cutting any part of the airplane), and leave the space in front of it- giving it “somewhere to go”.
But remember, this all just suggestions, take a lot of pictures and try many different things to see what work best for your style.
4. Shutter speed
No other camera settings are nearly as important as shutter speed when photographing airplanes. There is nothing worst than a picture of airplane with propeller frozen like the engine was shut off. Match your shutter speed to airplane’s engine RPMs so propeller’s motion creates nice blurred disk. I know it’s hard but you can use some rule of thumbs. The bigger the airplane or propeller, the slower the shutter speed. Most of the aerobatic airplanes will look fine around 1/250 of the second, warbirds and bigger transport airplanes may require settings closer to 1/125. When shooting helicopters you should go as low as you can handhold. For most people and most lenses, it will be in the 1/60 to 1/30 range. Each speed will result in the different look, so experiment and see what you like best.
With shutter speed set, choose your aperture and ISO combination to fit the weather. On a sunny day, you can probably set your ISO to the lowest setting on your camera, and avoid any noise (again, shutter speed is not an issue). Choose aperture in mid range- something like f/7 up to f/11 or even higher. It will give you the right shutter speed and also sufficient depth of field for more then one airplane in the frame. While at it, set the White Balance to the conditions outside, most probably Sunny. It will save you some post-processing later.
5. Background
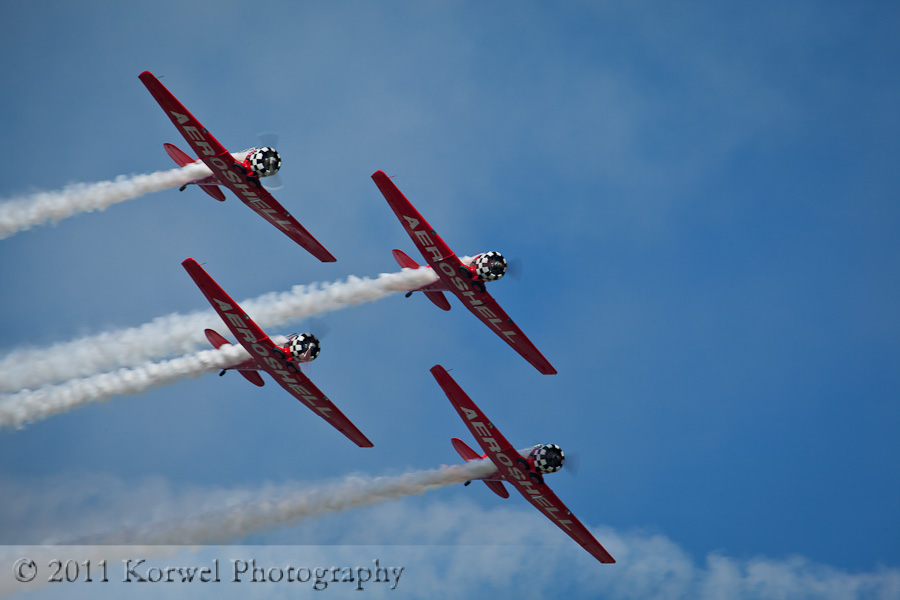
As I mentioned before, most of the air shows are organized in the middle of the day in a sunny weather. You really have no choice of light, and cannot count on golden hour light. You also do not have much influence on the sky- if you are lucky, there will be a cloud or two, but most often, it will be just plain blue. But pay attention to the sky, look where the most interesting clouds are, and choose airplanes with bright colors to distinguish them from the environment. This will give you the most evocative, interesting images.
6. Decisive moment
Turning on the “burst mode” if your camera have one will not only help you to get sharper picture. You also will be most likely to get the right moment in the sequence of events happening in front of your eyes. Like several airplanes get in line or one airplane in the best position. With more practice, you will know what to expect and when, and take less frames. Add to that Continuous focus, and all your images should come out sharp.
7. Statics
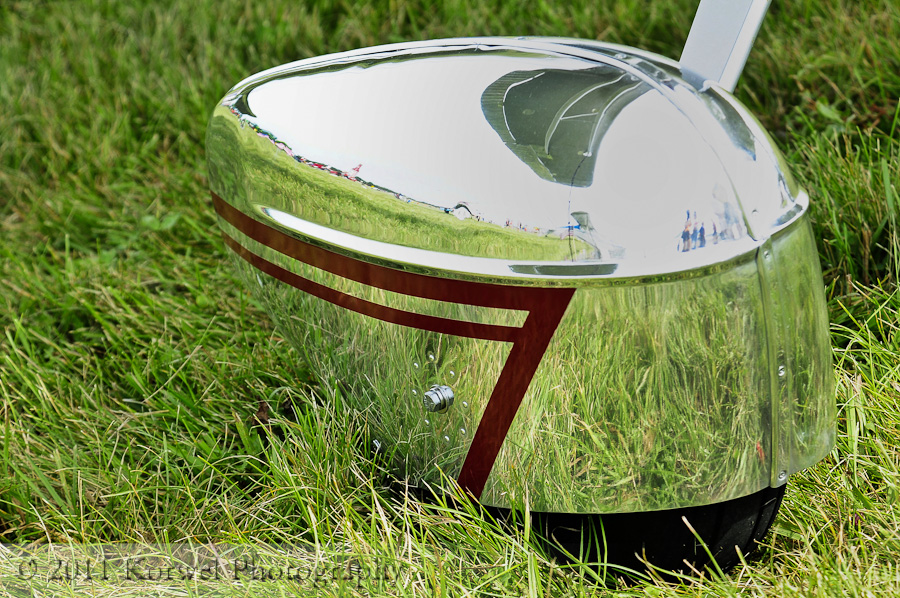
Static display is always the part of the show. It is the place, where before the show you can come closer to the aircrafts taking part in the show. There are usually more airplanes, some of warbirds, collector airplanes. A lot of things to photograph. It also offers many challenges. There is every hard to find clean background if airplanes are next to each other, and often it is impossible to catch a frame without people in it. I often focus on details, instead of trying to fit whole machine in the frame, just take a photo of part. And don’t forget to take a few of those crowded shots, to say something about the ambience of the event.
Photographing airplanes during air show is great fun. At first, you will find yourself trigger happy. With time, you will develop and eye and hand, and come back home with sharper, more interesting images.
