Microstock image workflow (and how it affects an image)
I was flirting with an idea of this post for quite some time, and never seemed to be a good time for what I considered a time-consuming post. Well, this weekend the mid-winter spring thaw came in a way of my snowboarding plans, and I am left with no-plans weekend. So here we go.

More then half of the images rejected after I submit them to any of microstock agencies, and almost all rejected in iStock, are rejected bacause of noise. For most of the images, I don’t do have cloning and other heavy retouching in Photoshop, just a few adjustments of my RAW files in Lightroom and export to full-quality and size JPEG. I do the adjustments in certain order, too. And I am quite sure each of them, or a combination of them, is introducing the noise reviewers complain about. So, the post will show what steps I am doing and how it affects an image. A learning experience for ma and hopefully, for you, too.
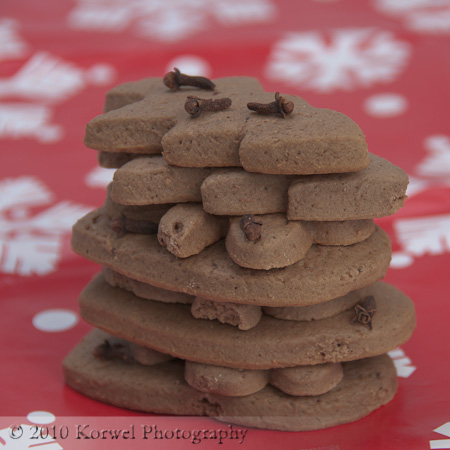
This is an image in a series I shot in studio for stock submission last fall. I do use a set-up with two strobes, and typically I shoot at ISO 200, which on Nikon D300 should not produce noticeable noise. Although I heard Nicole Young, well known around the web microstock shooter telling during recent interview with Canon Blogger that she uses ISO 100 in her studio work, and I think I might do that down the road, too.
I picked this particular image as an example because the gingerbread cookies have a lot of texture, so any noise increase should be easy visible.
Here is a JPEG generated from RAW (all default Lightroom settings zeroed). I just cropped it to 1:1 ratio which I like for this image, as it doesn’t add any unnecessary space which some agencies don’t like, and puts focus right on the subject. The RAW, untouched image is lifeless, dark, without any contract, just plain boring.
From now on, I am going to show only the part of the image, the view you would see looking at 100% zoom. I picked the area partially in sharp focus and partially blurred and with blurred background, to check all those areas. You can click on the image to see it a big bigger.
I will not check and re-adjust the changes I make to fit this particular image as far as values applied on sliders are concerned. I am just making an image an example of how much I would typically apply to see the effect it has on noise.
Step 1- Whatever Lightroom does to an image while importing to display in my Library, by adding Brightness for example, is making it look better then RAW right away. Here is how the fragment of the image looks after default Lightroom adjustments are applied.
Step 2- The white balance was correct on the image, and so was exposure in my opinion, so I will not change anything here. Sometimes I would use Fill Light slider to lighten shadow areas or adjust it locally with a brush. What I tend to do next is to set the Tone Curve to Strong to increase contrast in the image.
Step 3- I add some more contrast by increasing Clarity and Vibrance to +30.
Step 4- I sharpen the image by increasing the Amount +50
That’s it. Typically, no more is needed.
I think my rather drastic, though basic image improvements did not introduce as much noise as I expected based on the rejection rate. I think sharpening had the most effect. Also, I was wondering often if JPEG compression itself is not making matters worse, but I have not seen much difference between what was on the screen in Lightroom and what was in the final JPEG. I guess I need to look for another reason for the images being rejected and where else the noise might be coming from.
Here is how the final image looks with all the above mentioned, blind adjustments.

